Volvo Vida Dice is an essential diagnostic tool for Volvo owners and mechanics. While designed for Windows, it’s possible to run VIDA DICE on a Mac using a virtual machine. This guide provides a detailed walkthrough of setting up Volvo VIDA DICE on a MacBook Pro, based on a successful DIY project.
Understanding Volvo VIDA DICE and Mac Compatibility
Volvo VIDA DICE (Vehicle Information and Diagnostics for Aftersales) allows users to diagnose and troubleshoot issues in Volvo vehicles. Since VIDA DICE software is Windows-based, running it on a Mac requires a virtual machine to emulate a Windows environment. This guide utilizes Parallels Desktop and Windows 7, but other virtual machine software and Windows versions may also work.
Required Components for Volvo VIDA DICE Setup
Before starting the installation process, ensure you have the following:
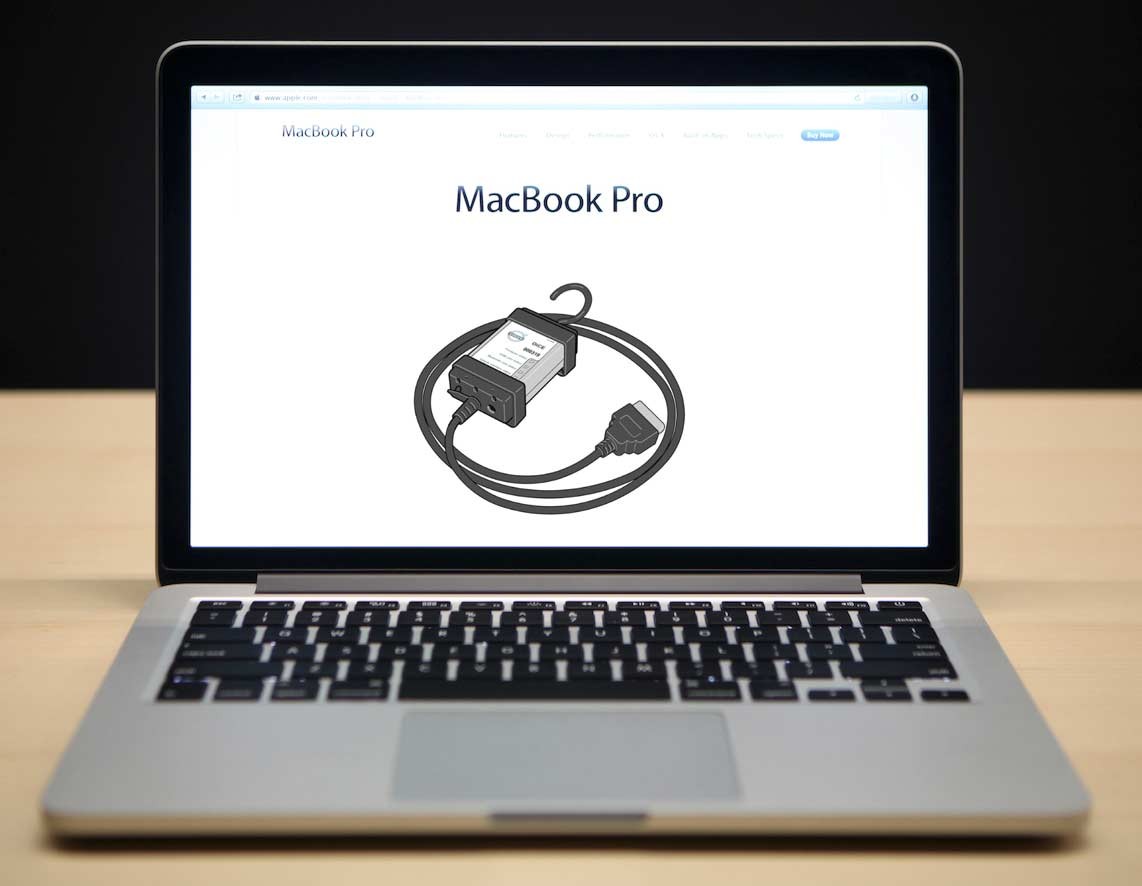
- Volvo VIDA DICE Unit: You can purchase a VIDA/DICE unit online from various retailers like AliExpress. Ensure the unit comes with the VIDA 2014A software or later.
- MacBook Pro: This guide was created using a late 2008 model, but newer models should also be compatible. Ensure you have sufficient RAM (8GB recommended) and free disk space (at least 40GB).
- Virtual Machine Software: Parallels Desktop 9 for Mac was used in the original setup. Other virtual machine software like VMware Fusion or VirtualBox might work but are not covered in this guide.
- Windows Operating System: A Windows 7 Professional SP1 64-bit installation is recommended.
- Administrative Privileges: Ensure your Windows user account has administrator privileges.
Step-by-Step Installation Guide for Volvo VIDA DICE on Mac
Follow these steps to successfully install and run VIDA DICE on your MacBook Pro:
- Prepare the Virtual Machine: Install Windows 7 in your chosen virtual machine software and verify that the Windows user has administrative rights.
- Disable User Account Control: In Windows, set the “User Account Control Settings” to “Never notify.” This prevents unnecessary prompts during the installation process.
- Copy Essential Files: Copy the
tskill.exefile from thewindows/system32/directory to thewindows/SysWOW64/directory. - Locate the VIDA Patch: Find the
VOLVO_VIDA_2014A_Patch.exefile (or the appropriate patch for your VIDA version) in theread mefolder on the VIDA DVD. Copy this file to the Windows desktop for easy access. - Install VIDA Software: Copy the entire contents of the VIDA DVD to the
C:drive in your virtual machine. Navigate to the...InstallDVDVida_dvdheaderMainfolder and right-click onsetup.exe. Choose “Run as administrator” to start the VIDA installation. - Complete the Installation: During the VIDA installation, accept all default settings and answer “yes” or “next” to all prompts. Do not modify any suggested settings.
- Restart Your Virtual Machine: After the installation completes, restart your Windows virtual machine.
- Apply the VIDA Patch: Double-click the
VOLVO_VIDA_2014A_Patch.exefile on your desktop and follow the prompts to apply the patch. - Restart Again: Restart your virtual machine once more after applying the patch.
- Connect the DICE Unit: Turn your car’s ignition key to Position II. Connect the DICE unit to the OBD2 port in your car and to your computer via USB. Windows should automatically install the necessary drivers for the DICE unit. You can confirm this by checking the Windows Device Manager.
- Launch VIDA: Start the “Vida All-In-One” application and log in using the default credentials: “1” for INTL, “2” for AME, or “admin.”
 dice-on-a-mac.jpg
Conclusion
By following this guide, you can successfully install and utilize the powerful Volvo VIDA DICE diagnostic tool on your MacBook Pro. Remember to always use a reliable VIDA/DICE source and keep your software updated for optimal performance. While this process might seem complex, it allows Mac users access to vital diagnostic capabilities for their Volvo vehicles.