Bleeding your brakes is a crucial maintenance task that ensures your vehicle’s stopping power and safety. This guide provides a comprehensive walkthrough of How To Bleed Brakes yourself, outlining the necessary tools, steps, and safety precautions.
Why Bleed Your Brakes?
Brake fluid is hygroscopic, meaning it absorbs moisture over time. This moisture can lead to corrosion in brake lines and components, reducing braking performance and potentially causing brake failure. Bleeding your brakes removes air and old, contaminated fluid, restoring optimal braking function. It’s generally recommended to bleed your brakes every two to five years or whenever you perform brake repairs.
Gathering Your Supplies
Before you begin, gather the following tools and materials:
- Brake Fluid: Use the correct type specified in your owner’s manual (e.g., DOT 3, DOT 4).
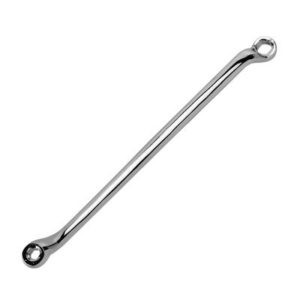
- Wrench: A brake bleeder wrench is recommended for easily opening and closing the bleeder valves without damage.
- Tubing: Clear plastic tubing that fits snugly over the bleeder valve nipple.
- Container: A clear container to collect the old brake fluid.
- Vacuum Pump or Helper: A vacuum pump simplifies the process, but a helper can assist with the manual method.
- Gloves: Wear gloves to protect your hands from brake fluid.
- Safety Glasses: Protect your eyes from potential splashes.
- Jack and Jack Stands: To safely lift and secure your vehicle.
- Wheel Chocks: To prevent the vehicle from rolling.
- Shop Towels: For cleaning up spills.
- Brake Cleaner: For cleaning brake components after the process.
Step-by-Step Bleeding Procedure
-
Prepare Your Vehicle: Park on a level surface, engage the parking brake, and chock the wheels. Lift the vehicle with a jack and securely support it on jack stands. Remove the wheels.
-
Locate Bleeder Valves: Identify the bleeder valves on each brake caliper. Consult your owner’s manual for the correct bleeding sequence, usually starting with the wheel furthest from the master cylinder.
-
Connect Tubing: Attach the clear tubing to the bleeder valve nipple and submerge the other end in the container with a small amount of brake fluid. This prevents air from being drawn back into the system.
-
Add Brake Fluid: Check the brake fluid level in the master cylinder reservoir and top it off with fresh fluid. Keep the reservoir cap on loosely to allow air to escape.
-
Bleed the Brakes: Using a vacuum pump or with the help of a second person, draw fluid through the bleeder valve. With a vacuum pump, attach it to the bleeder valve and follow the manufacturer’s instructions. If using a helper, they should pump the brake pedal several times, hold it down firmly, and then you can open the bleeder valve to release fluid and air. Close the valve before the pedal reaches the floor. Repeat this process until the fluid flowing through the tube is clear and free of bubbles.
-
Repeat for Each Wheel: Repeat steps 3-5 for each wheel, following the recommended bleeding sequence.
-
Top Off Fluid: After bleeding all wheels, top off the brake fluid reservoir to the proper level and securely tighten the cap.
-
Test Your Brakes: Reinstall the wheels, lower the vehicle, and pump the brake pedal several times. The pedal should feel firm. Conduct a test drive in a safe area to ensure the brakes are functioning correctly.
Conclusion
Bleeding your brakes is a manageable DIY task that can significantly improve your vehicle’s safety. By following this guide and taking necessary precautions, you can ensure your brakes are in top working condition. However, if you are uncomfortable performing this procedure yourself, consult a qualified mechanic.

