
An Engine Radiator Flush is a crucial part of vehicle maintenance, ensuring your engine runs at optimal temperature and preventing costly repairs. This guide provides a step-by-step process for performing an engine radiator flush yourself, along with essential safety precautions and tips.
Why Flush Your Engine Radiator?
Over time, your engine coolant can become contaminated with rust, debris, and scale. This buildup can restrict coolant flow, reducing its ability to cool the engine effectively. An engine radiator flush removes these contaminants, restoring the cooling system’s efficiency and prolonging its lifespan. Flushing is also crucial when switching coolant types to avoid chemical incompatibility.
Gathering Your Supplies
Before you begin, gather the necessary tools and materials:
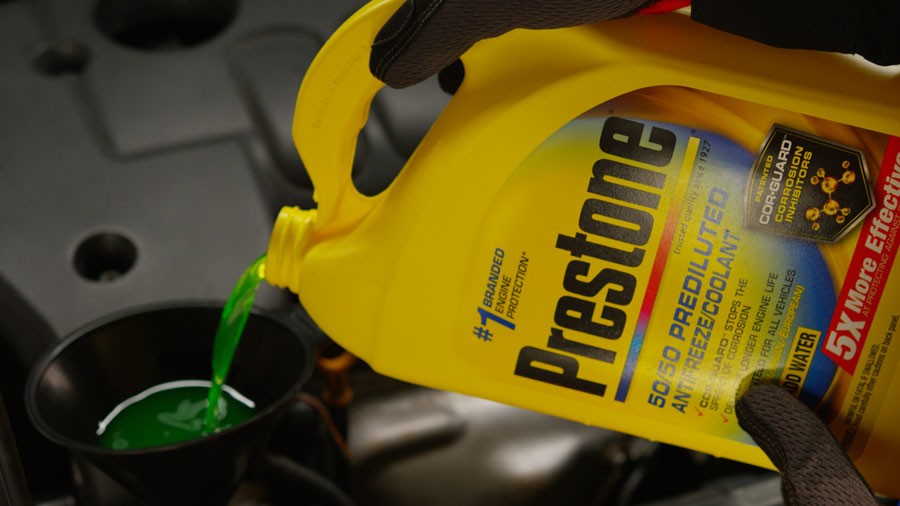
- Coolant: Consult your owner’s manual for the correct type and amount.
- Distilled Water: Essential for diluting concentrated coolant.
- Radiator Flush Solution: Helps break down stubborn deposits.
- Drain Pan: To collect the old coolant.
- Funnel: For pouring in new coolant.
- Gloves and Safety Glasses: To protect your skin and eyes.
- Wheel Chocks: To prevent the vehicle from rolling.
- Garden Hose (Optional): For flushing the entire system.
- Flush Kit (Optional): For a more thorough cleaning of the heater core.
Step-by-Step Engine Radiator Flush Procedure
1. Safety First
- Cool Down: Ensure your engine is completely cold before starting. Wait at least an hour after turning off the engine.
- Secure the Vehicle: Park on a level surface, engage the parking brake, and use wheel chocks.
- Protective Gear: Wear gloves and safety glasses.
2. Preparing the Vehicle
- Open the Hood: Securely prop open the hood.
- Inspect for Leaks: Examine the radiator and hoses for cracks or leaks. Replace any damaged components before proceeding.
3. Draining the Old Coolant
- Remove Radiator Cap: Carefully press down and twist to remove the radiator cap.
- Locate Drain Plug: Find the drain plug at the bottom of the radiator.
- Drain Coolant: Position the drain pan under the plug and loosen it to drain the old coolant.
- Close Drain Plug: Tighten the drain plug once the coolant has finished draining.
4. Flushing the System (Optional)
- Install Flush Kit: If using a flush kit, attach it to the heater hoses according to the kit’s instructions.
- Flush with Water: Run a garden hose through the system, following the kit’s directions, until the water runs clear.
5. Refilling with Coolant
- Add Coolant Mixture: Fill the radiator with the correct mixture of coolant and distilled water as specified in your owner’s manual.
- Bleed the System: Open any bleeder screws on the engine or radiator to release trapped air. Consult your owner’s manual for their location.
- Top Off Coolant: After bleeding, add more coolant mixture as needed to reach the “full” mark.
6. Running the Engine
- Start Engine: Run the engine with the heater on high for about 10 minutes.
- Monitor Temperature: Keep an eye on the temperature gauge to ensure the engine doesn’t overheat.
- Check for Leaks: Inspect for any leaks after the engine has warmed up.
7. Final Checks and Clean Up
- Top Off Coolant: Allow the engine to cool completely and check the coolant level again, adding more if necessary.
- Dispose of Old Coolant Properly: Take the used coolant to a recycling center or auto parts store for proper disposal. Never pour it down the drain.
When to Seek Professional Help
While an engine radiator flush can be a DIY project, certain situations warrant professional assistance:
- Complex Cooling Systems: Some vehicles have complex cooling systems that require specialized knowledge and tools.
- Persistent Problems: If you experience persistent overheating or cooling issues even after a flush, consult a mechanic.
Conclusion
Regular engine radiator flushes are vital for maintaining your vehicle’s cooling system and preventing engine damage. By following this guide, you can perform a flush yourself, saving money and ensuring your engine runs smoothly. However, if you are unsure about any step, it’s always best to consult a qualified mechanic.