
The Launch Creader Professional CRP123 is a powerful and versatile diagnostic tool for both professional mechanics and individual car owners. This guide provides a comprehensive walkthrough on how to download and install the necessary software for your CRP123.
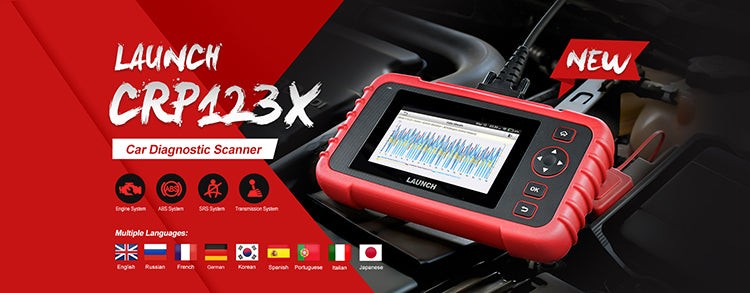 Launch CRP123 CRP123 X Creader Launch Scanner update instruction
Registering Your Launch CRP123
Before downloading the software update, you must first register your device. Follow these steps:
-
Visit the Launch Website: Navigate to the official Launch website and locate the CRP123 product page. Find the “Update Tools” section.
-
Download and Install the Update Tool: Download the CRP123 update tool and install it on your computer. Launch the program after installation.
-
Enter Serial Number: The program will prompt you to enter the serial number of your CRP123 device. You can find this number on the back of the tool.
-
Complete Registration Information: Provide the required information, including your contact details.
-
Obtain Registration Code: Connect your CRP123 to your computer using the provided USB cable. Power on the device.
-
Find the Registration Code on the Device: On the CRP123, navigate to the “Help” icon and press “OK.” Then select “Tool Information” and press “OK” again. Your registration code will be displayed.
-
Enter Registration Code: Input the registration code you obtained from the device into the registration page on your computer.
Downloading the Creader Professional CRP123 Software
Once registered, you can download the software:
-
Insert TF Card: Remove the TF card from your CRP123 and insert it into a TF card reader connected to your computer.
-
Reopen Update Tool: Relaunch the CRP update tool software on your computer.
-
Select Updates: Choose the specific software updates you need or select “Select All.” Click “Download.”
-
Install Updates on Device: After the download is complete, reinsert the TF card into your CRP123. Power on the device via the USB cable or by connecting it to a vehicle’s OBD2 port. The device will prompt you to install the updates. Select “OK.”
-
Update Complete: Once the installation process finishes, your Creader Professional CRP123 is ready to use with the latest software.
This detailed guide simplifies the process of downloading and installing the necessary software for your Creader Professional CRP123, ensuring you can utilize its full diagnostic capabilities.